


Step 1: Print out templates
I found some very helpful templates online for the butterfly and circle design. I uploaded them below, and also links to them.

Found Here

Found Here
Step 2: Cut out shapes
Cut out 4 butterfly templates on black craft foam.


I used this stick tool to outline the shapes in the butterfly wing. It helped me see it better.


Then I used a box cutter to cut out the shapes. Do this for all 4 pieces if you want to do the transparent version like mine. You only need to do 2 cut out pieces if you are using regular colored paper (the backside can be solid).

Step 3: Add your color and glue it together
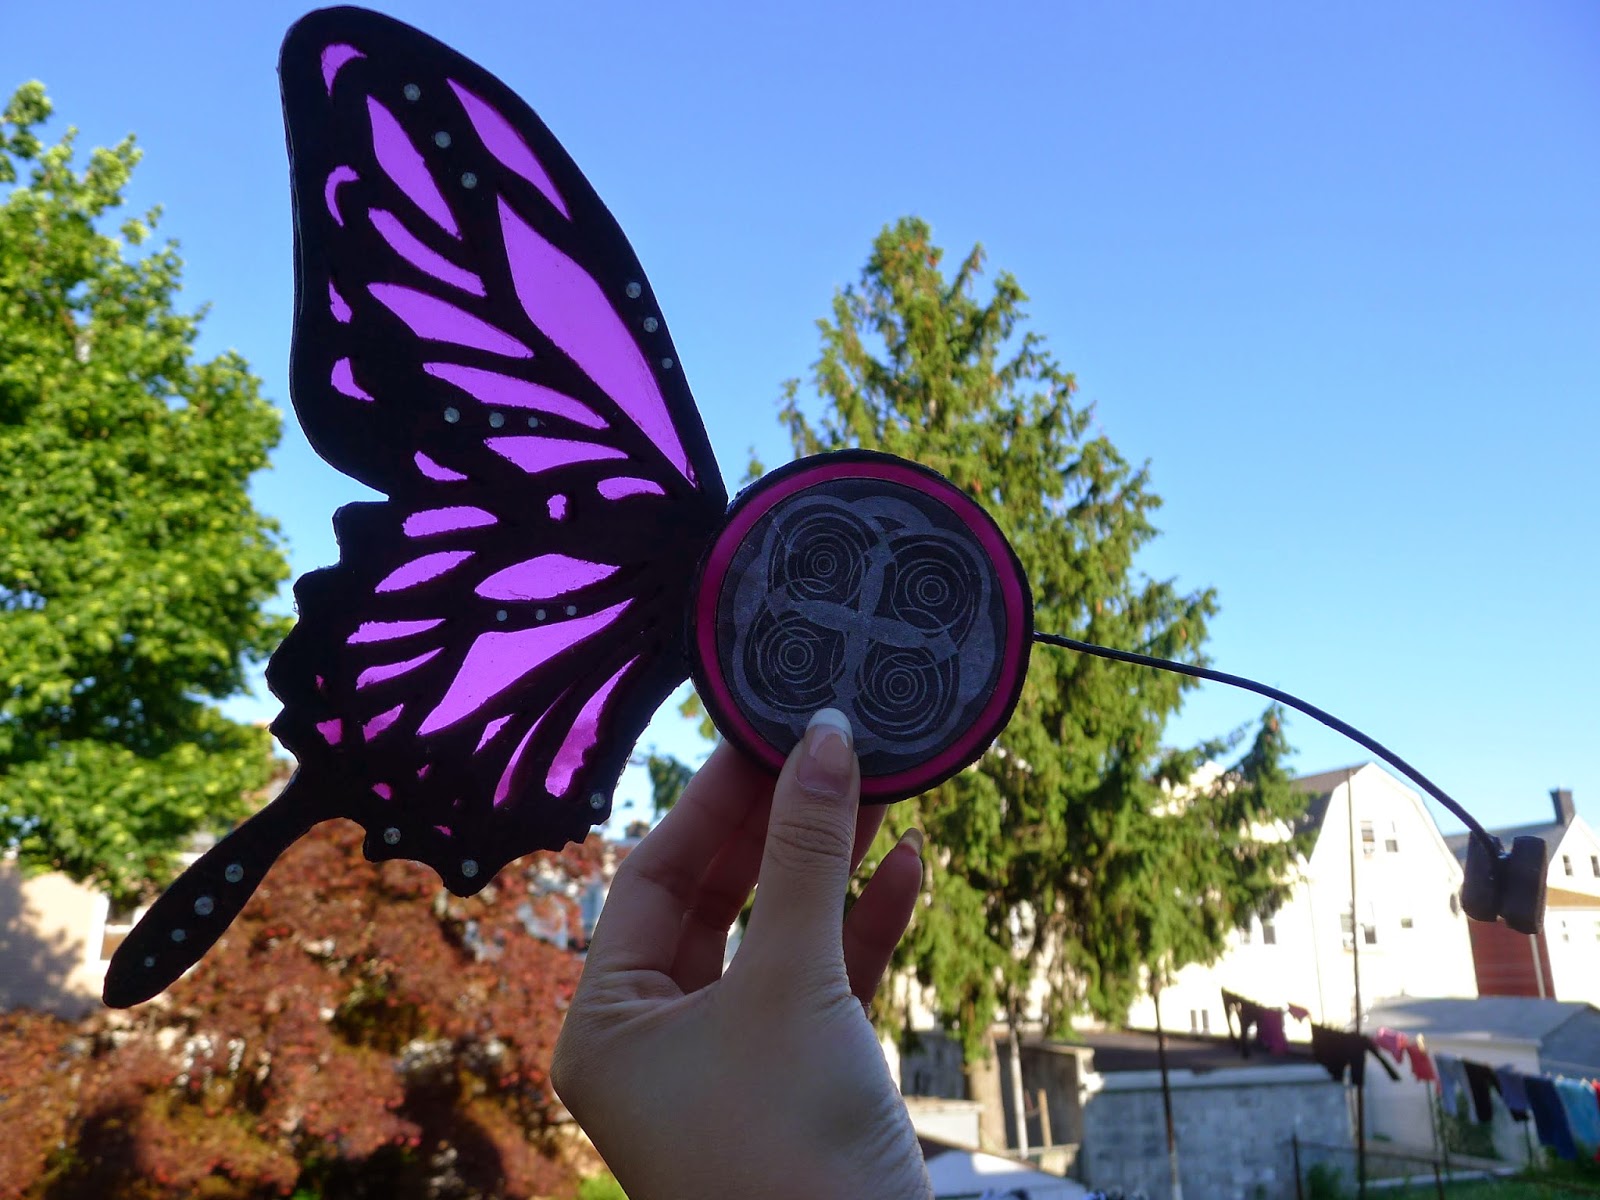
I wanted my butterfly pieces to be transparent, so I bought colored plastic folders. I cut out the butterfly shape in the hot pink color.

I used a glue gun to glue the 3 pieces together. Do it again for the 2nd wing.


Step 4: Finishing Touches
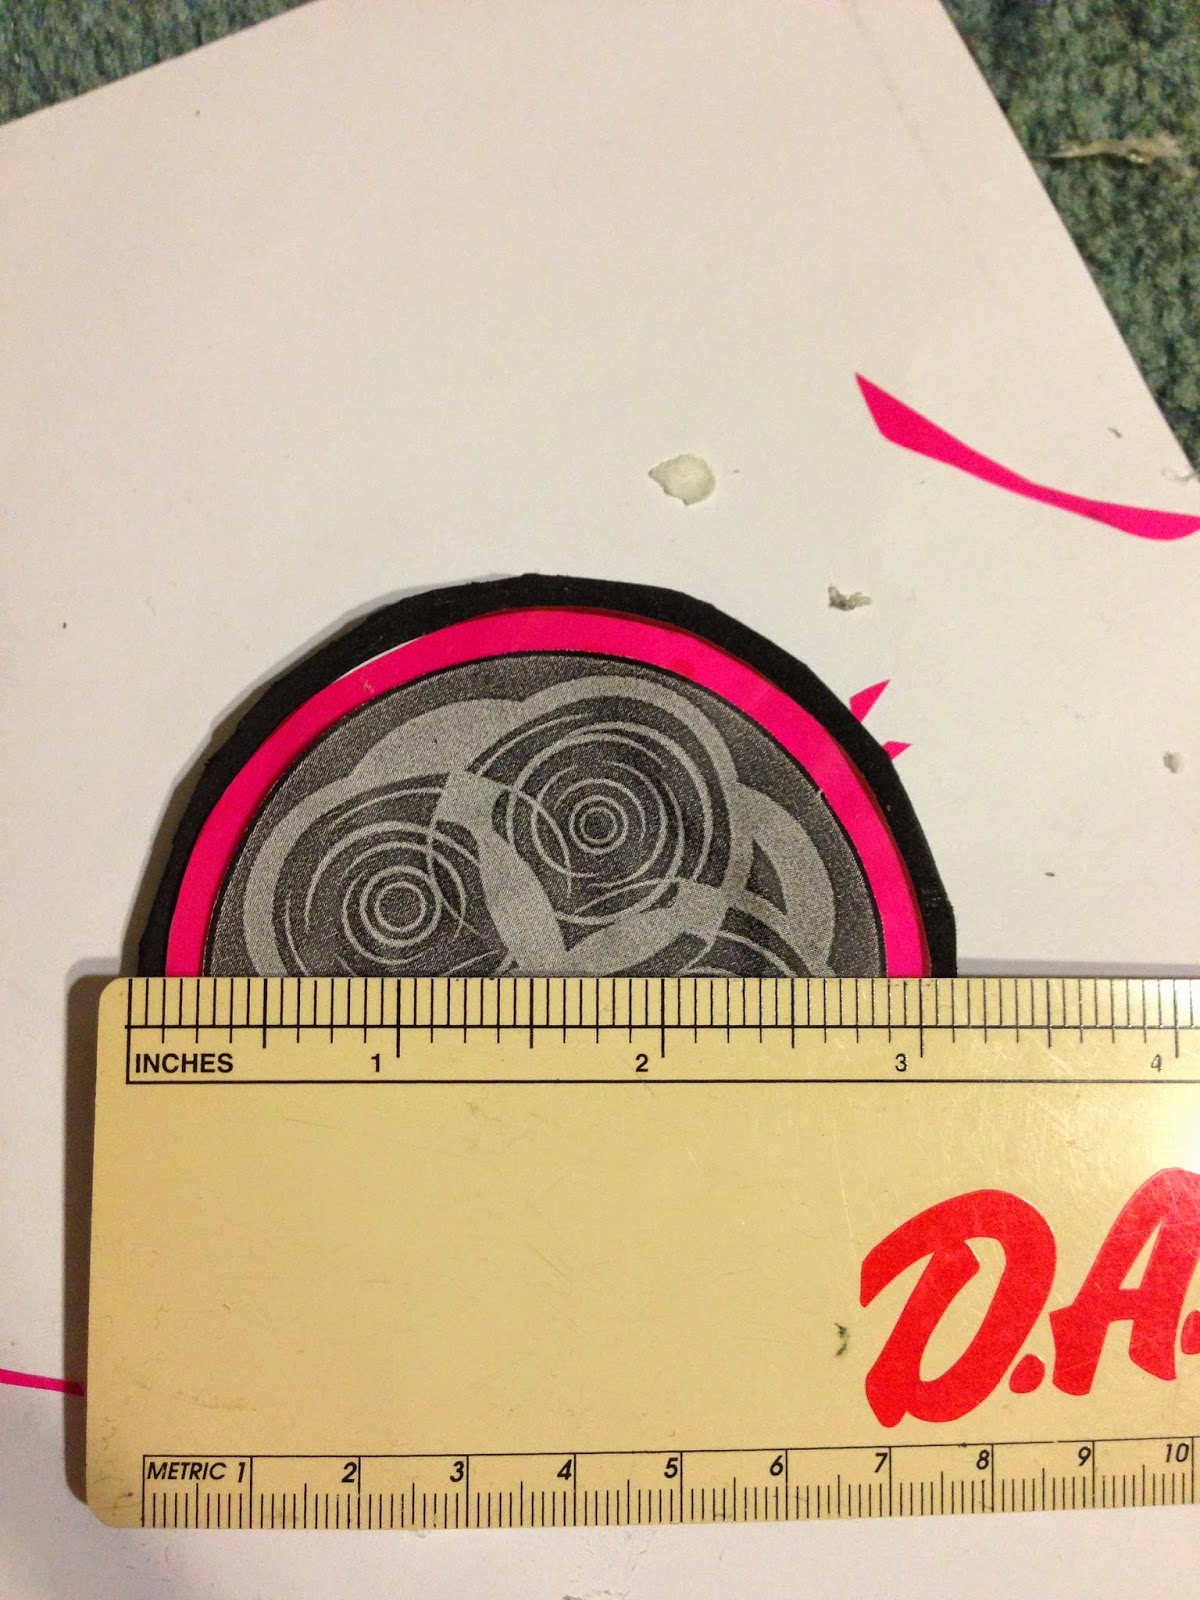
For the circles, I used Thick 6mm black craft foam, cut out four 3 inch circles. I cut two smaller circles with the pink color, and printed out two even smaller circle design for the middle. See below.
I used the 6mm black craft foam and cut out two mic pieces. Added on shiny gold and red rectangle design. I painted a piece of florist wire black and sandwiched and glued it between these 2 mic pieces. This is also how it is attached to the two layer headphone circles.

Optional: I added rhinestones to add some bling :)


Step 5: Attaching headphones
There are several ways you can make the headphones. I would suggest a headband. Before gluing the 2 thick circles together, stick a headband right in between them, and use hot glue to secure the sandwich. Other methods could be gluing real headphones, or hair clips.

A mini top hat tutorial will be coming soon!
I sell customized magnet headphones and other cosplay accessories in my store Here
Like my Facebook Page here .. Reeni Cosplay ..
Really very interesting and very valuable information about the headphones well done.
ReplyDeleteheadphones